Opening hours · Tue, Wed & Fri: 10:00 to 18:00 · Sat: 10:00 to 16:00

Choose a symptom

Creaking when pedalling

You notice
A click or creak once per revolution, especially when accelerating or climbing.
Most common causes
Dry or worn bottom bracket, loose chainring bolts, pedals or cleats, sometimes seatpost or stem.
Check yourself
Ride a stretch unclipped or out of the saddle to isolate the source; check that the pedals are tight.
When to book the workbench
If the creak persists or comes from the bottom bracket: a press-fit bottom bracket needs specific tools.

Do it yourself, step by step

  1. 1Wipe the chain, chainrings and the back of the cranks dry; grit and grime imitate a creak.
  2. 2Spin the cranks in a stand and count whether the creak returns once or twice per pedal cycle; that tells you whether the source is in front or behind.
  3. 3Take the pedals out, grease the threads and refit them firmly; a dry pedal thread is a classic creak.
  4. 4Pull the seatpost, wipe it clean and refit it with a torque key; a dry or over-tightened post creaks with every hip movement.
  5. 5Clean the cleats and their washers; grit between cleat and pedal gives a click that seems to come from the frame.
Book a service

Unsure about brakes, handlebars or carbon parts? Stop riding and have the bike inspected first.

Frequently asked questions

Creaking when pedalling

Dry or worn bottom bracket, loose chainring bolts, pedals or cleats, sometimes seatpost or stem. If the creak persists or comes from the bottom bracket: a press-fit bottom bracket needs specific tools.

Clicking or skipping when shifting

Stretched cable, bent derailleur hanger, worn chain or cassette. With a bent hanger after a crash, or if readjusting does not help.

Di2 or AXS not responding or rattling

Empty battery or coin cell, loose cable connection, outdated firmware or lost micro-adjustment. If pairing or micro-adjustment fails, or error codes appear.

Squealing or rubbing disc brake

Contaminated pads or rotor, misaligned caliper or worn rotor. If pads have absorbed oil, the rotor has turned blue or the rubbing persists.

Tubeless tyre losing air

Dried-out sealant, leaking valve core, rim tape lifting or a cut in the tyre. With a cut larger than a few millimetres or leaking rim tape.

Soft or spongy brake lever

Air in the hydraulic system, worn pads or a leak. Always: bleeding or a leak needs the right fluid and a workbench.

Does a service cost extra?

We look at faults during an essential or full service. Any parts that need replacing are discussed with you first.

Can I keep riding a creaking bike?

A creak is usually not dangerous straight away, but a creak from the handlebar, stem or seatpost should be checked soon.

Do you work on Di2 and AXS?

Yes. We check firmware, cables, battery and adjustment of Shimano, SRAM and Campagnolo electronic groupsets.

What you can do yourself

A quiet, reliable bike is mostly routine. With these checks and some basic tools you remove most annoyances before they become a repair.

Tools that earn their keep at home

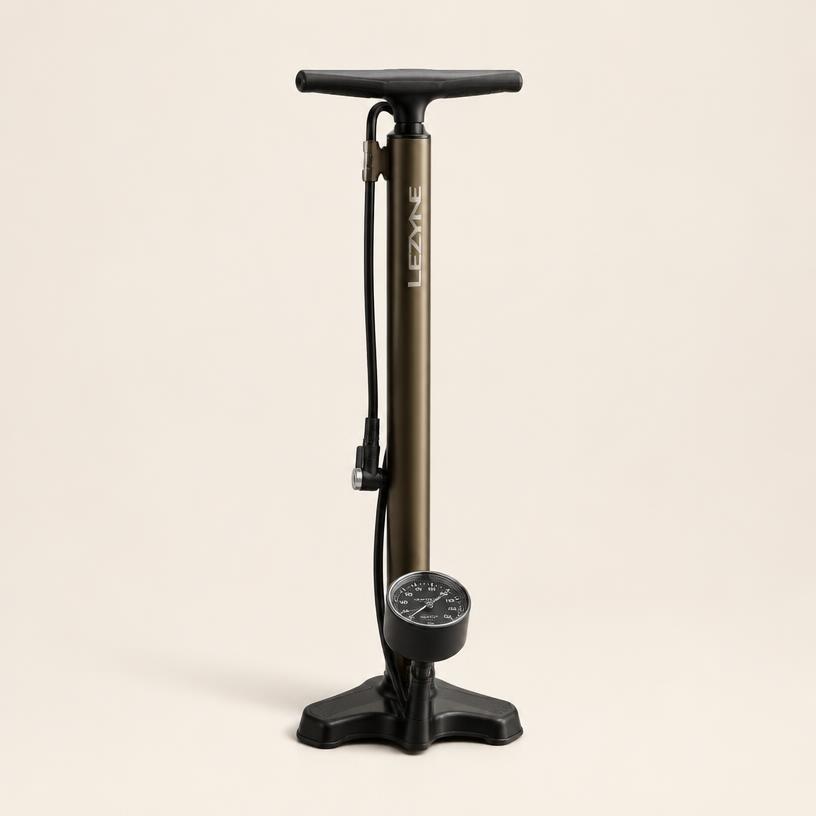
  • Track pump with gauge

    Track pump with gauge

    the only reliable way to ride at the right tyre pressure.

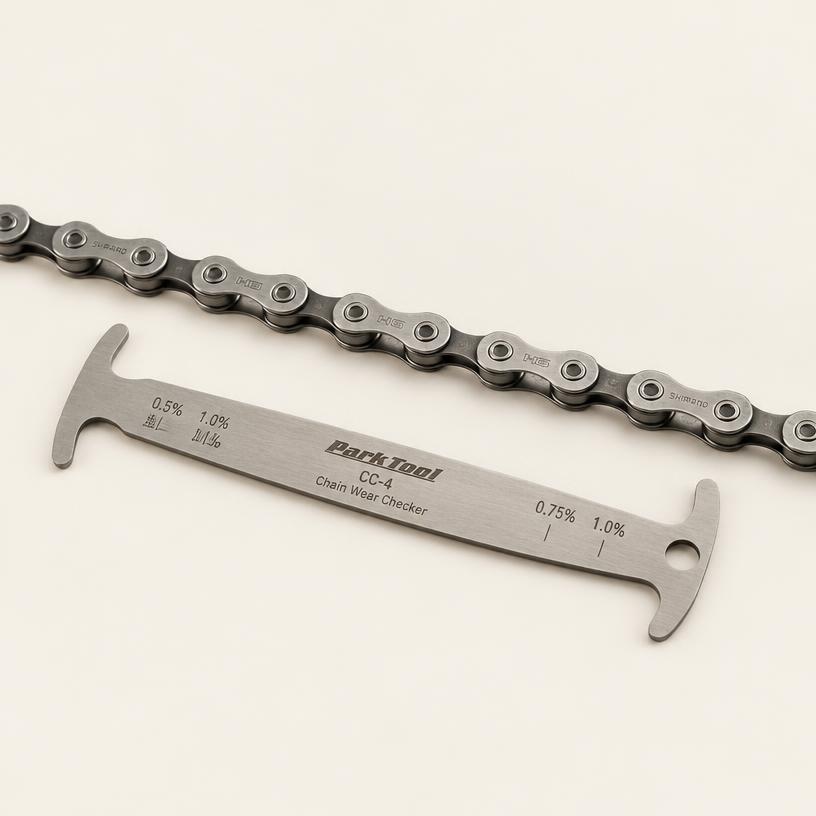
  • Chain checker

    Chain checker

    tells you in a second whether the chain is worn, and therefore whether the cassette can still last.

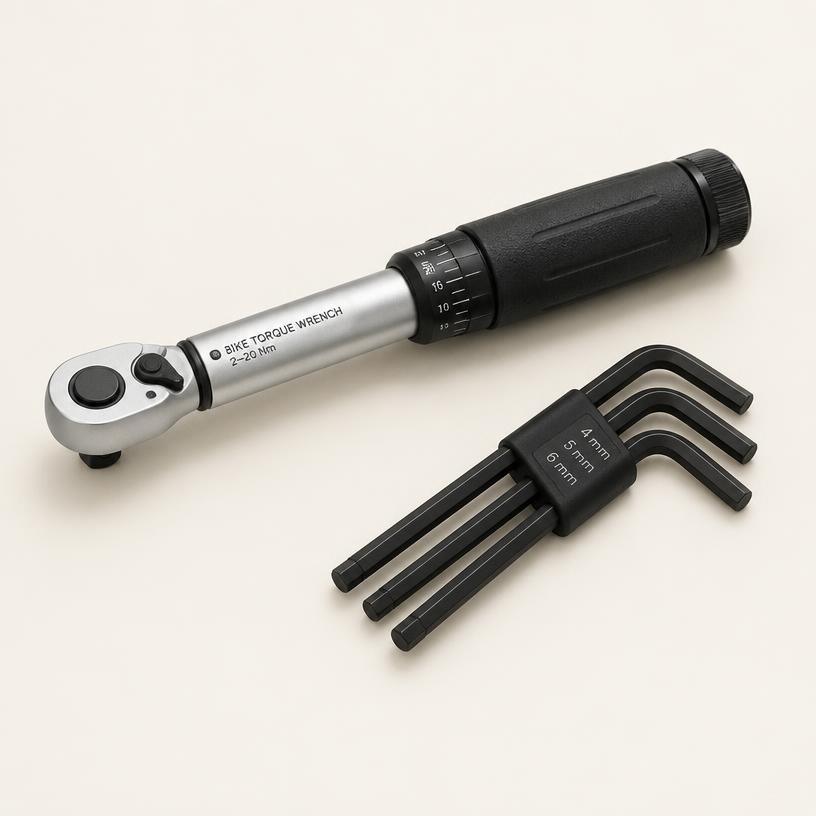
  • Hex keys 4, 5 and 6 mm plus a torque key

    Hex keys 4, 5 and 6 mm plus a torque key

    carbon does not forgive guessing.

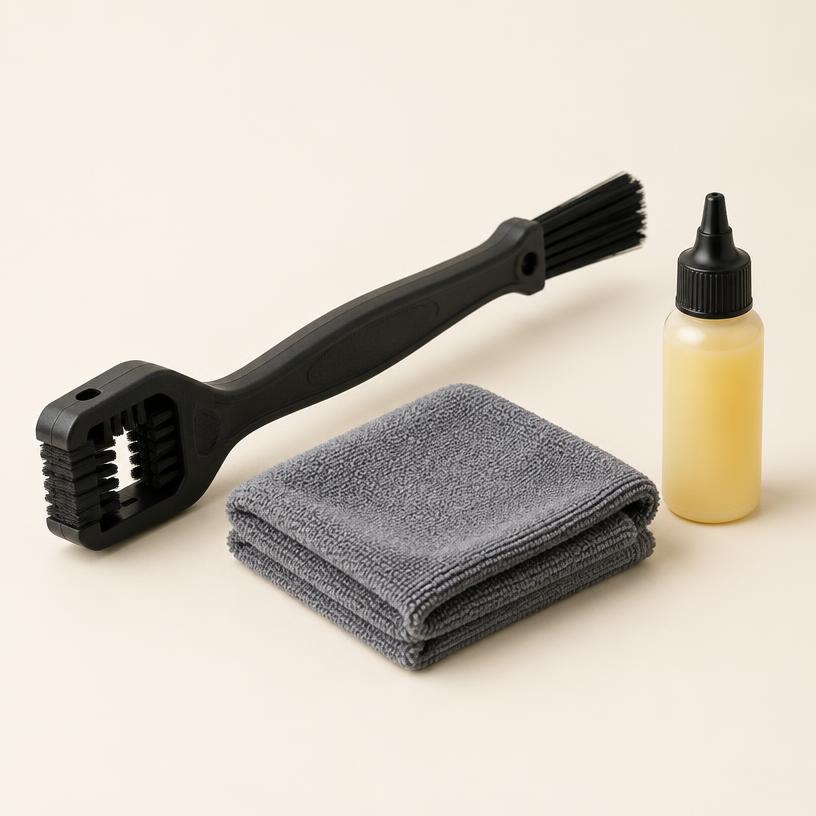
  • Chain brush, a cloth and chain oil

    Chain brush, a cloth and chain oil

    the ten minutes that save the most wear.

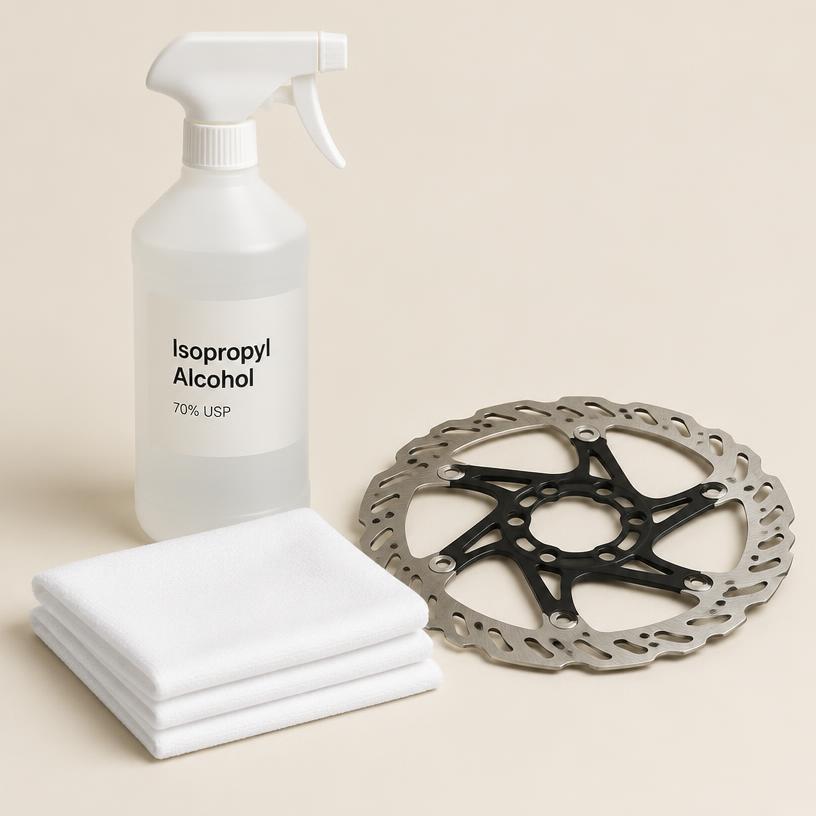
  • Isopropyl alcohol and lint-free cloths

    Isopropyl alcohol and lint-free cloths

    that is what makes brakes and shifting quiet.

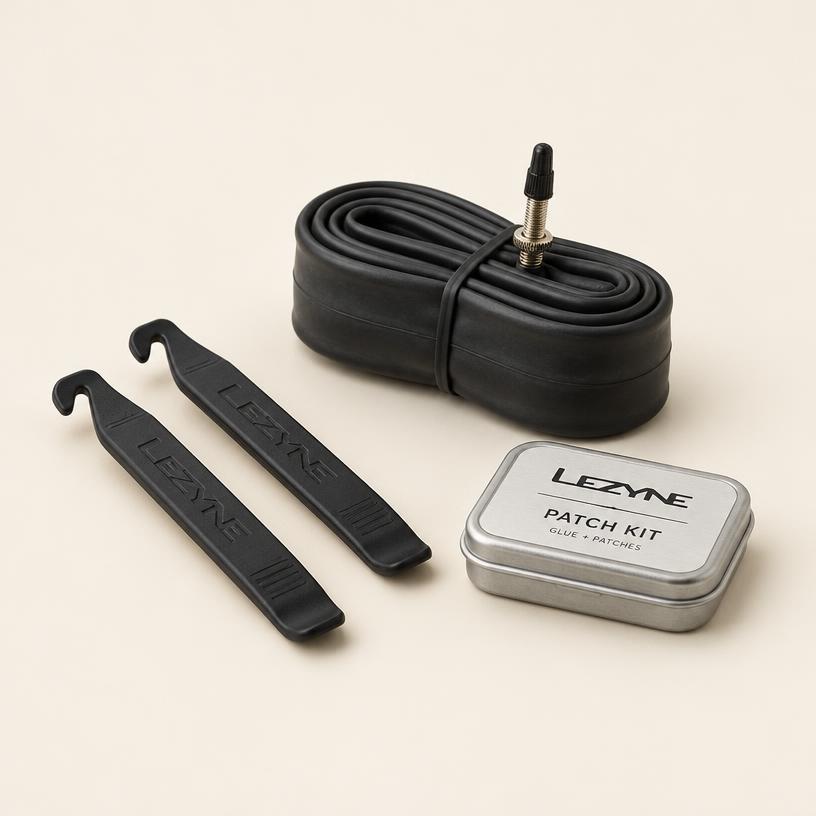
  • Tyre levers, a spare tube and patch kit

    Tyre levers, a spare tube and patch kit

    the standard kit for the road.

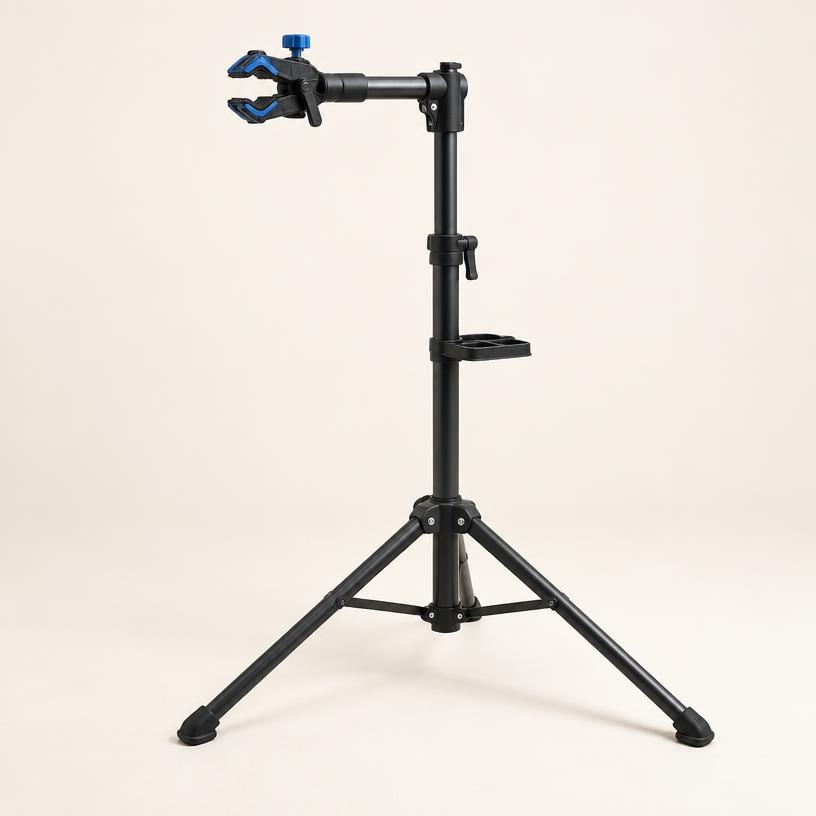
  • Repair stand

    Repair stand

    the bike at working height, so adjusting and cleaning stay calm and precise.

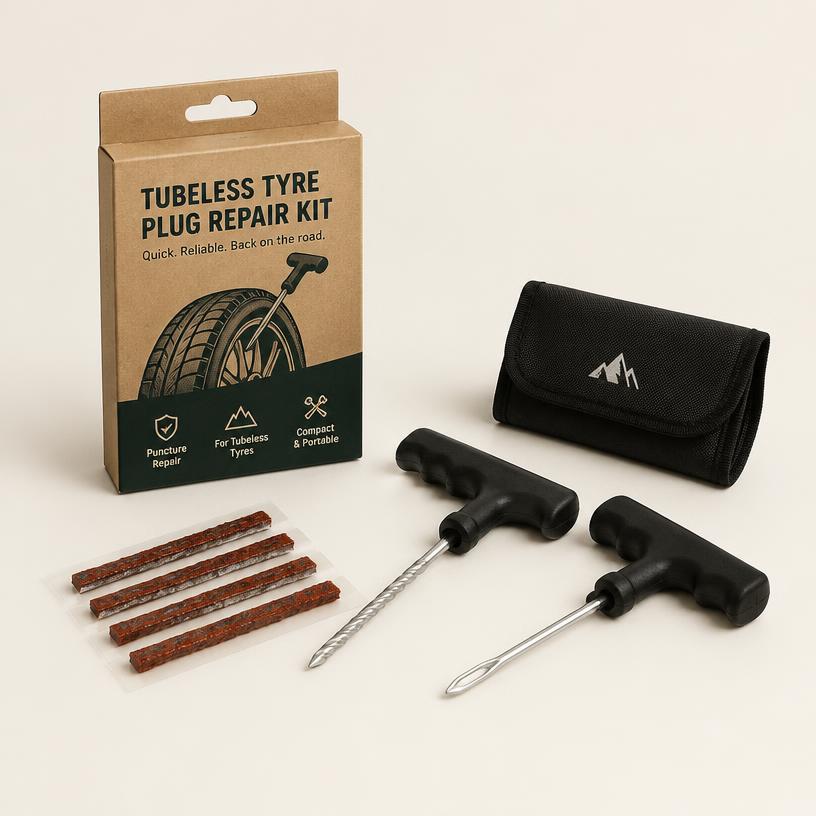
  • Tubeless plug kit

    Tubeless plug kit

    seals a hole the sealant cannot close, without taking the tyre off.

Ten-minute weekly routine

Pressure and tread
Inflate before every ride and roll the tread past your fingers looking for cuts and stuck grit.
Chain clean and oiled
Wipe the chain dry and put one drop of oil on each joint; remove the excess, otherwise it attracts dirt.
Feel the brakes
Squeeze both levers: they must firm up before they touch the bar. Then look at pad thickness.
Shifting in the stand
Turn the cranks and shift through the cassette; one click per gear means the adjustment is right.
Check the bolts
Once a month, check the stem, seatpost clamp and thru-axles with a torque key.
After a wet ride
Rinse mud off the frame with water and a cloth, keep the jet away from bearings and dry the chain afterwards.

Leave these to the workbench

  • Bleeding hydraulics and changing brake fluid
  • Pressing a press-fit bottom bracket out and in
  • Straightening or replacing a derailleur hanger after a crash
  • Truing wheels and tensioning spokes
  • Inspecting carbon parts for cracks or a damaged paint edge
  • Electronic groupsets with error codes or wiring through the frame

If you are unsure about any of these, a look at the workbench is almost always cheaper than a ride you cannot finish.

Book a service